More Progress On Disassembly and Remembering How to Use a Special Tool
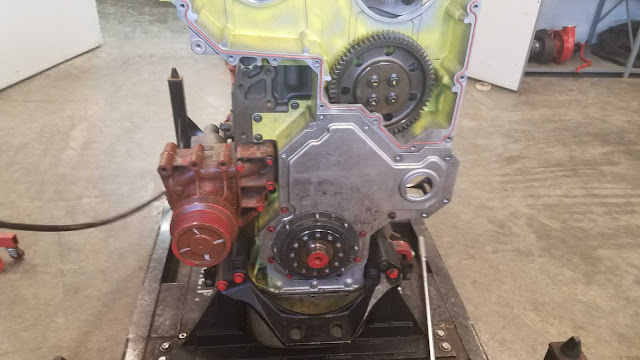
Some parts I have yet to know the proper name so bare with me. We pick up where we left off exposing the timing(?)) area.
After a short while we got the cover off and decided to remove the bell-housing(?) on the opposite side.
We learned quickly that our 1/2" impact wasn't going to cut it so we had to bring out the big guns.
The bolts fought hard but the 3/4" impact reigned victorious.
We also decided to remove an injector to get a look at the special tool to pull the injectors off their seat.
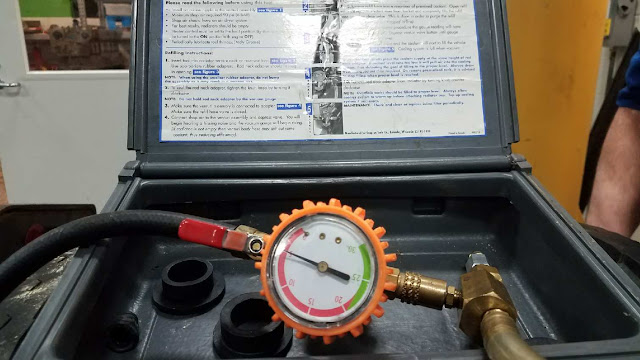
During the night class my team had to make sure our vehicle (91 international) was able to run. The coolant had been removed from a previous class so we had to use this tool.
You stuff the part below the dial where the radiator cap goes. To the right of the dial you hook up the other part of the tool that has a push valve in it and supply air to it. Finally, the hose you see at the bottom of the screen goes to where the coolant is stored.


Wow, you have been a busy individual, Dalton! Oh, if you are guessing on these parts, please let me play the lottery with you! We could strike it........big! Good job!!!!!!!!!!!
ReplyDelete